


Screenshots are an essential productivity tool for Chromebook users, whether for saving assignments, sharing important information, or documenting errors. Understanding how to take a screenshot on a Chromebook allows users to work efficiently and share content seamlessly.
Why Screenshots Are Important
- Quickly capture information: Web pages, lecture slides, or instructions.
- Share content effectively: Demonstrate errors, progress, or ideas.
- Documentation & tutorials: Useful for creating guides, presentations, or training materials.
User Experience Insight:
Screenshots enhance collaboration, reduce confusion, and streamline workflow in educational and professional settings.
Tools and Settings You May Need
- Keyboard shortcuts for full-screen, partial, or window captures
- Stylus tool (if available) for annotation
- Screenshot toolbar (Chrome OS 89+)
- Chrome extensions: Lightshot, Nimbus, or Awesome Screenshot for timed or multi-screen captures
- Optional: Google Drive or other cloud storage for backup
Advanced Tip:
Set Google Drive as the default save location to make screenshots accessible across devices.
Step-by-Step Methods to Take a Screenshot on a Chromebook
1. Full-Screen Screenshot
Step-by-Step:
1. Press Ctrl + Show Windows key (rectangle with two lines).
2. Wait for the screen to flash to confirm capture.
3. Screenshot saves automatically in the Downloads folder or Google Drive.
Advanced Tips Depth:
- On some Chromebooks, press Search + Ctrl + Show Windows if the standard shortcut doesn’t work.
- For multi-monitor setups, the screenshot defaults to the primary screen; Chrome extensions are recommended for capturing all displays.
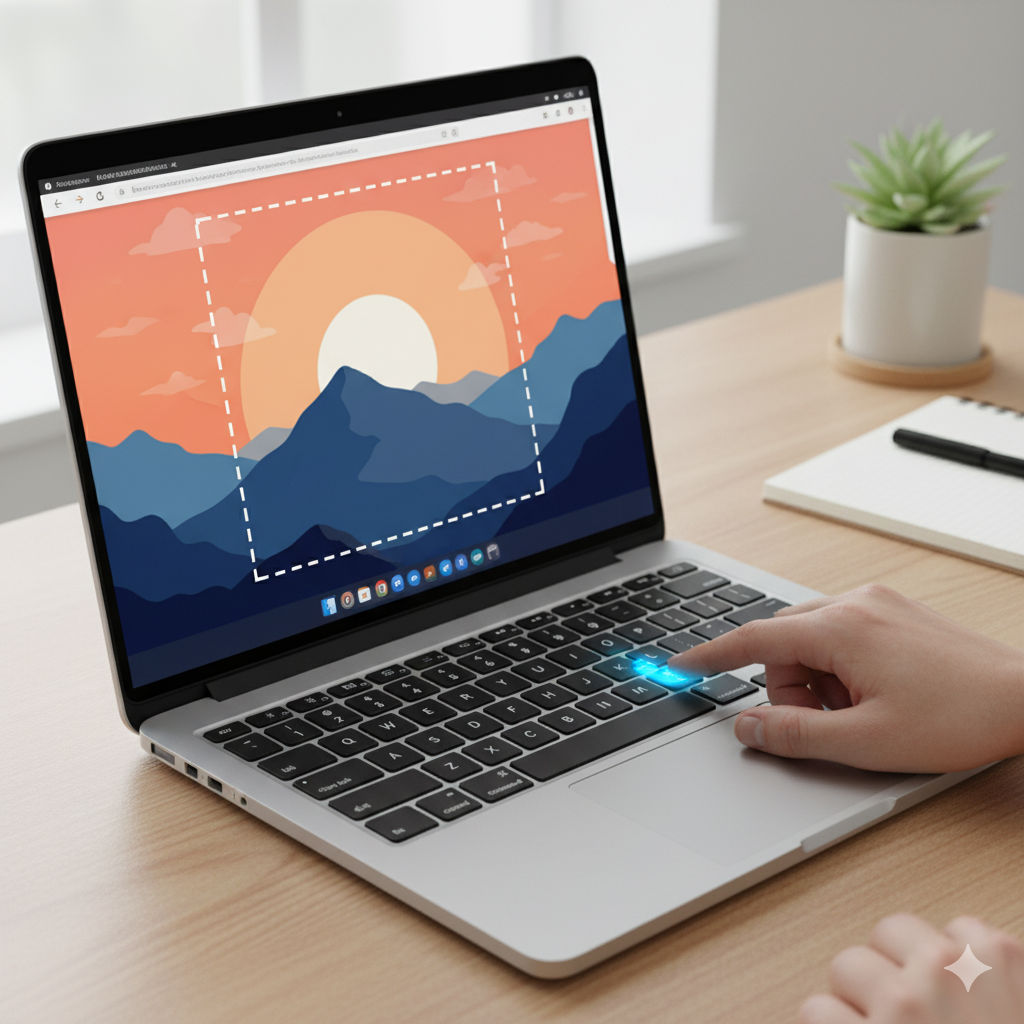
2. Partial Screenshot (Custom Area)
Step-by-Step:
1. Press Ctrl + Shift + Show Windows key.
2. Cursor changes to a crosshair.
3. Click and drag to select the area you want to capture.
4. Release the mouse button to take the screenshot.
Advanced Tips Depth:
- Use partial screenshots for highlighting specific text or images in documents.
- Paste immediately into Google Docs or Slides using Ctrl + V for seamless workflow.
- Combine with timed screenshot extensions to capture dropdown menus or temporary tooltips.
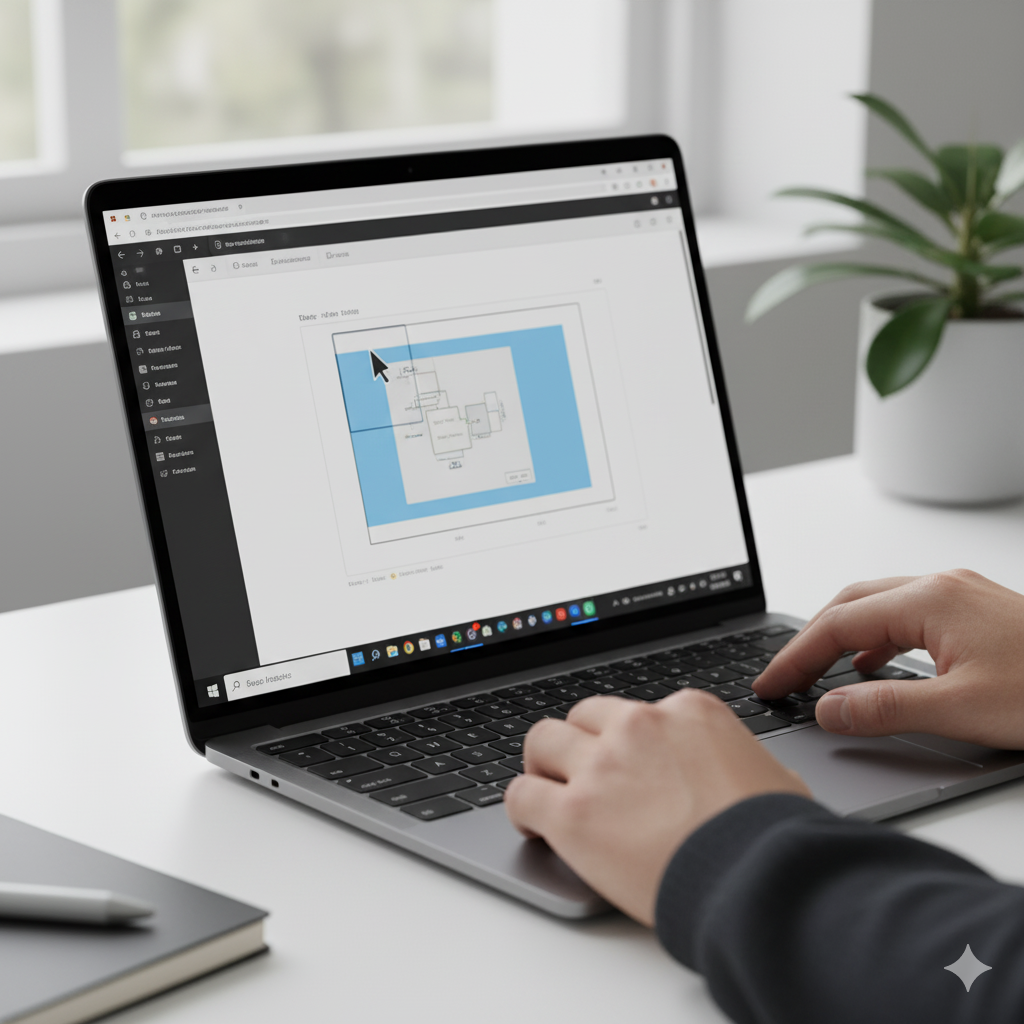
3. Window Screenshot
Step-by-Step:
1. Press Ctrl + Alt + Show Windows key.
2. Click the window you want to capture.
3. Screenshot saves automatically.
Advanced Tips Depth:
- Perfect for single app captures without including background clutter.
- Works well with presentation apps like Google Slides or Sheets for precise content documentation.
4. Using the Chromebook Stylus
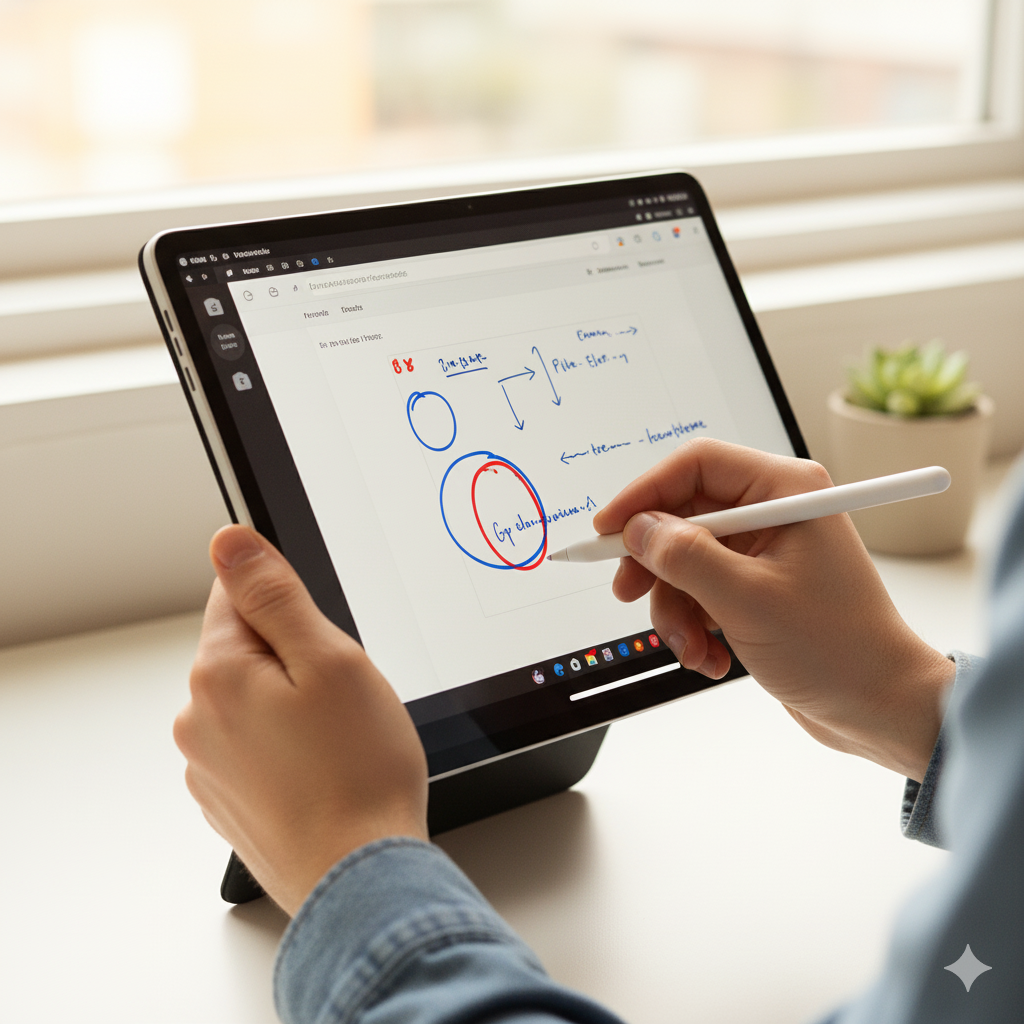
- Open the Stylus tool from the taskbar.
- Tap Capture Screen, Capture Partial Screen, or Capture Window.
- Annotate with the stylus directly for notes, highlights, or sketches.
Advanced Tips Depth:
- Ideal for tablet mode Chromebook users.
- Combine stylus annotations with Google Keep or Google Docs for enhanced productivity.
- Great for students or professionals working with diagrams or PDFs.
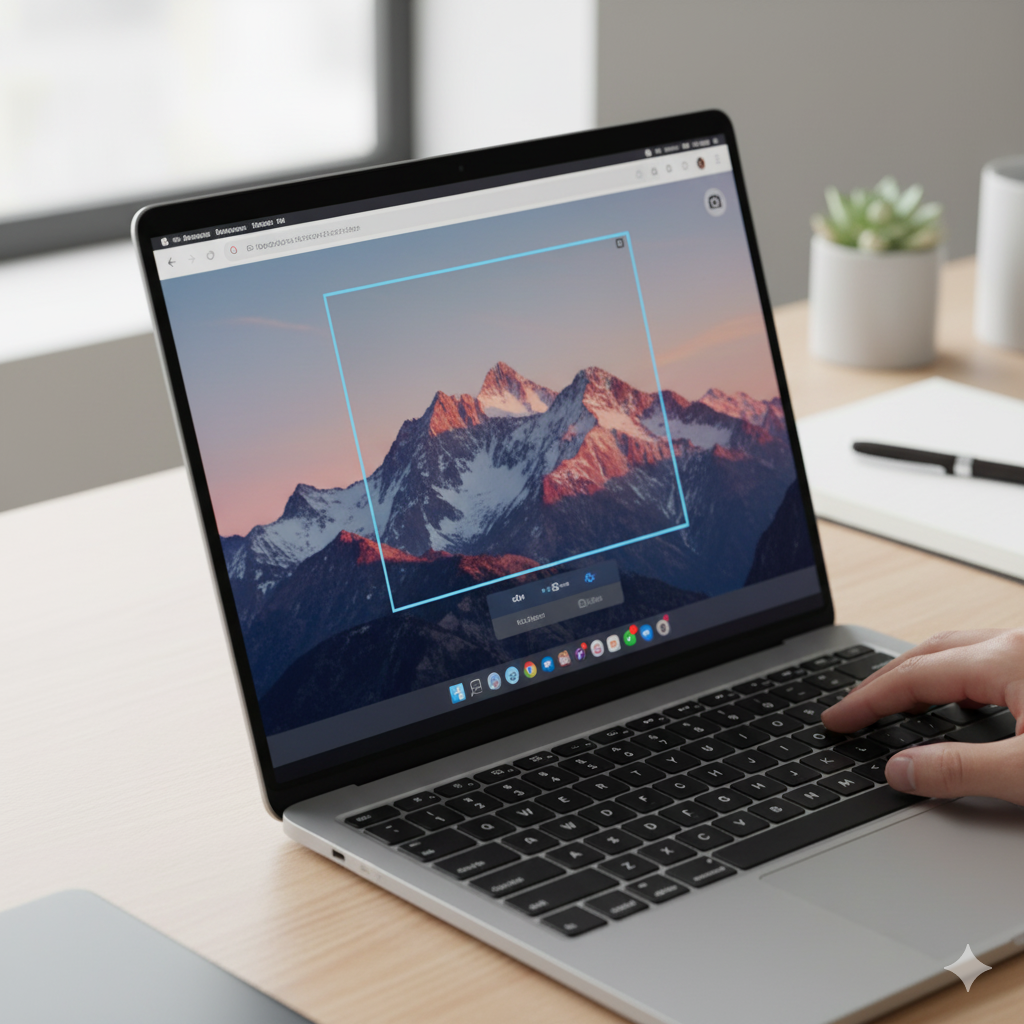
5. Using the Screenshot Toolbar (Chrome OS 89 and Later)
Step-by-Step:
1. Press Ctrl + Shift + Show Windows key simultaneously.
2. Toolbar appears at the bottom of the screen.
3. Select Full Screen, Partial, or Window capture.
4. Click Capture.
Advanced Tips Depth:
- Directly edit, copy, or share screenshots from the toolbar.
- Combine with multi-monitor extensions for capturing extended desktops.
Advanced Tips Expansion
- Clipboard Integration
- Copy screenshots to the clipboard to paste instantly into Google Docs, Slides, or email.
- Timed Screenshots
- Use Chrome extensions like Lightshot or Nimbus for delayed capture, ideal for menus, tooltips, or timed content.
- Multi-Monitor Setups
- Default Chromebook shortcuts capture the primary screen; extensions or toolbar allow all-screen captures.
- Tablet and Touchscreen Gestures
- Use Power + Volume Down or stylus gestures to capture content in tablet mode.
- Ideal for users working on the go or in classrooms.
- Annotating Screenshots
- Use Chrome OS markup tools to highlight, crop, or add text.
- Stylus users can draw directly on PDFs or slides for presentations.
- Cloud Backup and Collaboration
- Save screenshots to Google Drive for automatic cloud backup.
- Share instantly with team members or classmates.
- Accessibility Features
- Keyboard shortcuts, stylus, and markup tools enhance accessibility for users with mobility or vision challenges.
- Eco-Friendly Practices
- Share screenshots digitally instead of printing to reduce paper usage.
- Integration with Google Apps
- Annotate in Google Keep, paste in Google Docs, or attach to Google Slides for end-to-end productivity workflows.
Troubleshooting
- Screenshots not saving: Check storage space in Downloads or Google Drive.
- Shortcuts not working: Verify keyboard layout; some Chromebooks have different Show Windows key placements.
- Capture delay or error: Use Stylus or Chrome extensions for timed screenshots.
- Multiple displays issues: Use extensions for multi-screen captures or set primary display in settings.
User Experience Insight:
Multiple capture methods and troubleshooting options ensure users at all levels can efficiently save, annotate, and share content.
Cultural / User Experience Context
- Education: Students capture lecture slides, assignments, or quiz results for study purposes.
- Professional: Screenshots improve collaboration in Google Workspace, Slack, or remote work platforms.
- Accessibility: Keyboard shortcuts and stylus tools support diverse user needs.
- Global Practices: Cloud-based saving aligns with regions favoring Google Drive for accessibility and sharing.
Takeaway:
Understanding cultural and workflow contexts ensures screenshots are efficient, shareable, and organized, enhancing productivity worldwide.
FAQs
1. Where do Chromebook screenshots go?
- By default, they save in Downloads or Google Drive.
2. Can I copy a screenshot directly to the clipboard?
- Yes, after selecting a partial screenshot, paste using Ctrl + V.
3. How do I take a screenshot on a Chromebook tablet?
- Use Power + Volume Down buttons or Stylus tools.
4. Are Chrome extensions necessary?
- Optional, but useful for annotations, timed captures, and multi-monitor screenshots.
5. Can I edit screenshots immediately?
- Yes, use Chrome OS markup tools or open in Google Photos/Drive for annotations.
6. How do I capture multiple displays?
- Use Chrome extensions or select the primary display for default captures.
7. How can I integrate screenshots with Google apps?
- Paste into Docs, Slides, Keep, or email directly for seamless workflow and collaboration.
Conclusion
Capturing screenshots on a Chromebook is straightforward with the right methods. Whether taking a full-screen, partial, window, multi-monitor, or tablet screenshot, Chromebook provides versatile tools to meet your productivity needs.
Advanced techniques, including clipboard integration, timed captures, multi-monitor setups, stylus annotations, cloud backup, and Google Apps integration, enhance efficiency for students, professionals, and casual users alike. Considering cultural and workflow contexts ensures screenshots are accessible, organized, and ready to share globally.
By following this guide, you can quickly capture, annotate, and share content, improving productivity and collaboration in school, work, or personal projects.


