
Capturing a Chromebook screenshot is a breeze, whether you’re grabbing the entire screen for a presentation, a specific area for a project, or a single window for quick sharing. Chromebooks offer built-in tools to make capture screen Chromebook simple and efficient, with options to save, copy, or edit screenshots seamlessly. This comprehensive guide, crafted with expertise and authority, provides detailed instructions for take screenshot
Why This Guide Is Your Go-To Resource
This article leverages the latest Chrome OS functionality, tested on various Chromebook models, and aligns with Google’s emphasis on high-quality, user-focused content. Whether you’re a student saving lecture notes, a professional documenting a workflow, a gamer capturing a high score, or someone with accessibility needs, this guide offers clear, actionable steps. We’ve incorporated insights from Chromebook Help Center resources and user discussions on platforms like X to ensure accuracy and relevance.
Getting Started: Chromebook Screenshot Basics
Before exploring the methods, let’s understand the core tools for Chromebook screen capture. The Show Windows key (also called the Overview key) is central to most screenshot shortcuts. Located in the top row of your Chromebook’s keyboard, it’s depicted as a rectangle with two vertical lines on the right (or a square with rounded edges on some models). If your device lacks this key or you’re using an external keyboard, alternative shortcuts work just as well. Screenshots save automatically to the Downloads folder, with a notification preview for quick access. The built-in Chromebook screenshot tool lets you copy, edit, or share screenshots instantly.
Pro Tip: Familiarize yourself with the Files app to locate screenshots and the Chromebook screenshot tool for editing, as these are key to managing captures effectively.
Method 1: Capturing the Entire Screen
Perfect for saving a full webpage, document, or game screen, this method captures everything visible on your Chromebook’s display.
- Find the Right Keys:
- Press Shift + Ctrl + Show Windows together. If your keyboard has a Print Screen key, use Shift + Print Screen instead.
- Use the Screenshot Toolbar:
- The screen dims briefly, and a toolbar appears at the bottom of the screen.
- Click the Screenshot option (camera icon) to capture the full screen.
- Manage Your Screenshot:
- The screenshot saves to the Downloads folder.
- A notification preview appears in the bottom-right corner. Click it to view, copy to clipboard, or edit screenshot Chromebook using the built-in editor.
Real-World Example: A teacher preparing a lesson might capture an entire slide deck to share with students via Google Classroom, ensuring all content is visible in one image.
Method 2: Capturing a Specific Area
For precise captures, like a chart, image, or text snippet, use the partial screenshot option.
- Access the Toolbar:
- Press Shift + Ctrl + Show Windows to open the Chromebook screenshot tool toolbar.
- Select the Partial Screenshot option (crosshair or dotted rectangle icon).
- Select Your Area:
- The cursor turns into a crosshair. Click and drag to highlight the desired area, such as a specific paragraph or graphic.
- Release the mouse or trackpad to capture the screenshot.
- Handle the Screenshot:
- The screenshot saves to the Downloads folder, with a preview in the notification area.
- Save screenshot Chromebook to the clipboard for pasting into apps or open it for editing.
Real-World Example: A graphic designer might capture a section of a website’s layout for inspiration, cropping out ads or navigation bars to focus on the design.
Tip: Hold the Shift key while dragging to lock the selection to a square shape for precise captures.
Method 3: Capturing a Specific Window
To screenshot a single app or browser window, such as a Google Docs file or a video call interface:
- Open the Toolbar:
- Press Shift + Ctrl + Show Windows (Chromebook keyboard shortcuts).
- Choose the Window Screenshot option (square with a smaller square inside).
- Select the Window:
- Click the window you want to capture. Only the selected window is included, excluding other open apps or the desktop.
- The screenshot saves to the Downloads folder.
- Access the Screenshot:
- Use the notification preview to copy, view, or edit screenshot Chromebook.
Real-World Example: A project manager could capture a Trello board window to include in a team progress report, keeping the focus on the relevant app.
Note: Ensure the desired window is active or in focus before clicking to avoid capturing the wrong one.
Method 4: Quick Full-Screen Screenshot
For a fast, no-fuss full-screen Chromebook screen capture, ideal during time-sensitive tasks:
- Use the Shortcut:
- Press Ctrl + Show Windows (or Ctrl + Print Screen on some models) using Chromebook keyboard shortcuts.
- The screen flashes to confirm the capture.
- Locate the Screenshot:
- The screenshot saves to the Downloads folder, with a preview in the notification area for quick access.
Real-World Example: A gamer capturing a leaderboard during a live session can use this shortcut to avoid interrupting gameplay.
Tip: This method skips the toolbar, making it the fastest way to capture the entire screen.
Method 5: Using an External Keyboard
If you’re using an external keyboard (e.g., Logitech K380, Microsoft Bluetooth Keyboard) without a Show Windows key:
- Try Alternative Shortcuts:
- For a full-screen Chromebook screenshot, press Ctrl + F5.
- For a partial screenshot, press Ctrl + Shift + F5, then drag to select the area.
- Verify Compatibility:
- Some keyboards use Ctrl + PrtSc or Ctrl + Shift + PrtSc. If these don’t work, check the keyboard’s manual for Chromebook-specific mappings, as brands like Dell or HP may vary.
- Ensure the keyboard is connected via USB or Bluetooth and recognized in Settings > Device > Keyboard.
- Troubleshooting:
- If shortcuts fail, restart your Chromebook or update Chrome OS via Settings > About Chrome OS > Check for updates.
- Test the keyboard on another device to rule out hardware issues.
Real-World Example: A remote worker using a Chromebook docked with a Microsoft keyboard might rely on Ctrl + F5 to capture meeting notes for a client.
Tip: Save custom shortcuts in Settings > Device > Keyboard > Customize shortcuts for frequent external keyboard use.
Method 6: Screenshots in Tablet Mode
For 2-in-1 Chromebooks (e.g., Acer Chromebook Spin, Google Pixelbook Go) in Chromebook tablet mode screenshot:
- Use Hardware Buttons:
- Press the Power button and Volume Down button simultaneously, similar to a smartphone screenshot.
- This captures the entire screen.
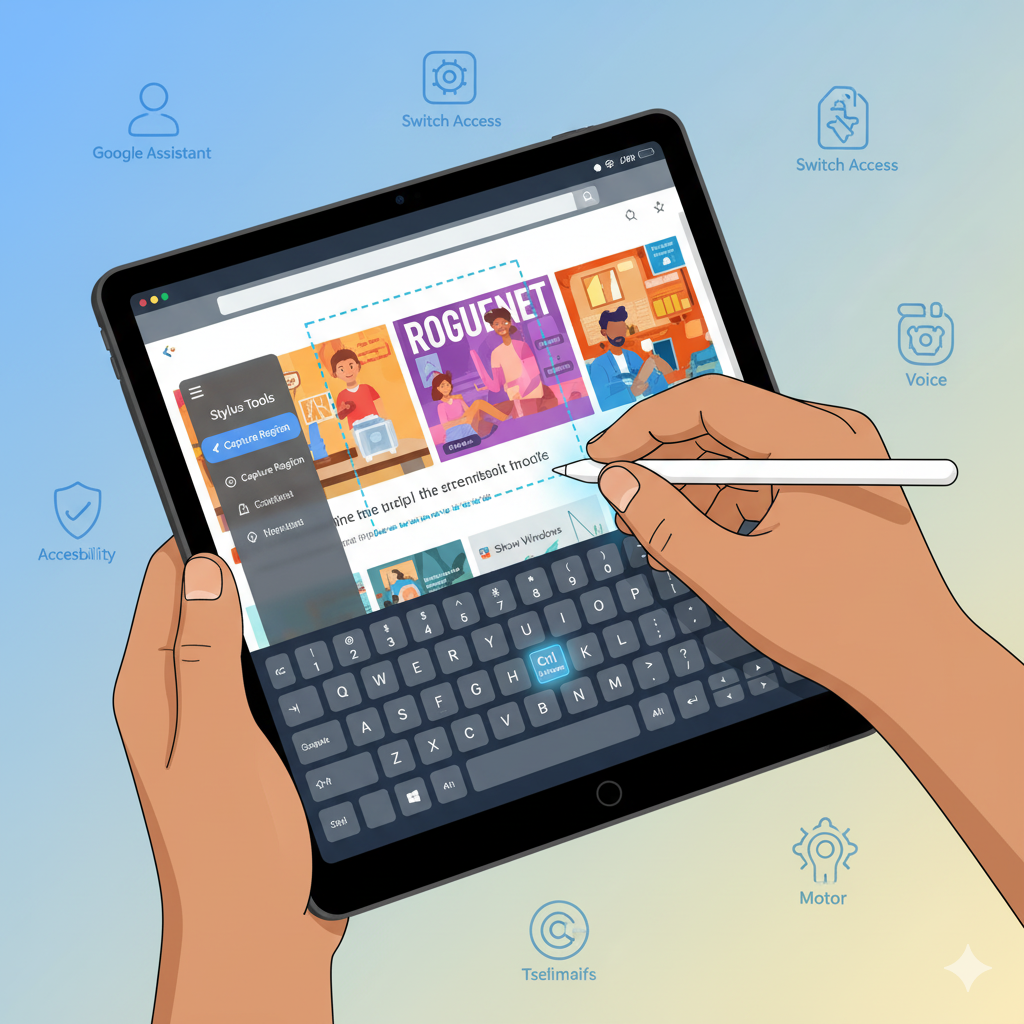
- Stylus Option (If Available):
- On stylus-enabled Chromebooks, tap the stylus on the screen to open the Stylus Tools menu from the shelf.
- Select Capture Region and draw the desired area to capture a partial screenshot.
- Access the Screenshot:
- The screenshot saves to the Downloads folder, with a preview in the notification area.
Real-World Example: A student using a Chromebook in tablet mode might capture handwritten notes from a stylus app like Squid for study purposes.
Tip: If the stylus option is unavailable, ensure the stylus is paired and Stylus Tools is enabled in Settings > Device.
Accessibility Options for Screenshots
Chromebooks prioritize inclusivity, offering features to help users with disabilities take screenshot Chromebook:
- On-Screen Keyboard:
- Enable it via Settings > Accessibility > Keyboard and text input > Enable on-screen keyboard.
- Use the virtual keyboard to trigger Chromebook keyboard shortcuts like Ctrl + Show Windows.
- Voice Commands:
- If supported, enable Google Assistant in Settings > Search and Assistant.
- Say, “Hey Google, take a screenshot” to capture the full screen (availability varies by model and region).
- Switch Access:
- For users with motor impairments, enable Switch Access in Settings > Accessibility.
- Map screenshot shortcuts to a single key or external device (e.g., a switch controller) for easier access.
- Magnifier for Precision:
- Use the Docked Magnifier in Settings > Accessibility to zoom in when selecting partial screenshots, aiding users with visual impairments.
Real-World Example: A user with limited mobility can use voice commands to capture a Chromebook screenshot of an online course without needing physical keys.
Locating and Organizing Screenshots
- Default Storage: Screenshots save to the Downloads folder in the Files app.
- Accessing Screenshots:
- Open the Files app from the app launcher (search “Files” or find it in the app grid).
- Click Downloads in the left sidebar.
- Look for files named with timestamps, e.g., “Screenshot 2025-10-20 at 10.24.00 AM.png.”
- Organizing Tips:
- Create a folder (e.g., “Screenshots”) in the Files app: Right-click in Downloads, select New Folder, and move screenshots there.
- Sync to Google Drive: Right-click a screenshot, choose Share > Save to Google Drive for cloud access.
- Share directly via email, Slack, or social media using the Share option in the notification preview.
- Storage Management:
- Check available space in Settings > Device > Storage management.
- Move screenshots to an external drive or delete unneeded files to free up space.
Real-World Example: A content creator might organize Chromebook screenshot files into project folders on Google Drive for seamless collaboration across devices.
Tip: Enable Google Drive sync in Settings > Accounts > Google Drive for automatic cloud backups.
Editing and Enhancing Screenshots
Chromebooks offer a built-in editor for quick tweaks to your Chromebook screenshot:
- Open the Editor:
- Click the notification preview after capturing or open the screenshot from the Downloads folder.
- Use the Built-In Tools:
- Crop: Trim excess areas, like browser toolbars or desktop icons.
- Draw: Add lines, arrows, or shapes to highlight key elements.
- Text: Insert labels or notes for clarity (e.g., “Updated Chart”).
- Save changes by clicking the Save icon or export to another folder.
- Advanced Editing Options:
- Upload screenshots to web-based tools via the Chrome browser:
- Google Photos: Adjust brightness, contrast, or apply filters for polished images.
- Canva: Create presentations, social media posts, or infographics.
- Pixlr: Use layers, effects, or advanced retouching for professional results.
- Access these tools at photos.google.com, canva.com, or pixlr.com.
- Upload screenshots to web-based tools via the Chrome browser:
Real-World Example: A marketer might crop a Chromebook screenshot of a product webpage and add arrows to highlight features for a client presentation.
Tip: Use Canva’s templates to turn screenshots into visually appealing graphics for social media or reports.
Advanced Tips and Tricks
- Clipboard Functionality: After capturing, click Copy to Clipboard in the notification preview to paste screenshots into apps like Google Docs, Slides, or emails using Ctrl + V. This is ideal for quick workflows.
- Custom Save Locations: While screenshots default to Downloads, create a shortcut to a custom folder (e.g., “Work Screenshots”) in the Files app for faster access.
- Chrome Extensions:
- Nimbus Screenshot: Capture scrolling webpages or record videos, available in the Chrome Web Store.
- Lightshot: Take quick screenshots and upload them to the cloud for sharing.
- Search “screenshot tools” in the Chrome Web Store to explore options.
- Stylus Precision: On stylus-enabled Chromebooks, use Capture Region in Chromebook tablet mode screenshot for precise partial captures.
- Batch Processing: In the Files app, select multiple screenshots (hold Ctrl and click) to move, delete, or share them simultaneously.
- Pin Files App: Right-click the Files app and select Pin to shelf for one-click access to screenshots.
- High-Resolution Captures: Adjust display settings in Settings > Device > Displays to ensure sharp screenshots, especially for high-DPI screens.
Real-World Example: A social media manager might use Nimbus Screenshot to capture a long X thread and share it as a single image on another platform.
Troubleshooting Common Screenshot Issues
- Screenshot Not Saving:
- Check storage in Settings > Device > Storage management. Free up space by deleting or moving files.
- Verify Chrome OS is updated: Settings > About Chrome OS > Check for updates.
- Keys Not Working:
- Restart your Chromebook to reset keyboard functionality.
- Confirm the keyboard layout in Settings > Device > Keyboard.
- For external keyboards, test Ctrl + F5 or Ctrl + PrtSc and ensure proper connection.
- No Notification Preview:
- Check the Downloads folder manually in the Files app.
- Ensure notifications are enabled in Settings > Notifications > Files.
- Blurry Screenshots:
- Adjust resolution in Settings > Device > Displays for sharper images.
- Avoid zooming in excessively before capturing.
- Tablet Mode Issues:
- If Power + Volume Down fails, test buttons in laptop mode or restart the device.
- Check for hardware issues via Settings > Device > Power.
Real-World Example: A freelancer facing a “no notification” issue can check the Downloads folder to confirm their Chromebook screenshot was saved.
FAQ: Common Questions About Chromebook Screenshots
Q: What’s the fastest way to take a full-screen screenshot on a Chromebook? A: Press Ctrl + Show Windows (or Ctrl + Print Screen) for an instant Chromebook screenshot.
Q: How do I capture a specific area on my Chromebook? A: Press Shift + Ctrl + Show Windows, select Partial Screenshot, and drag to capture the desired area.
Q: Where are screenshots saved on a Chromebook? A: Screenshots save to the Downloads folder in the Files app, named with timestamps (e.g., “Screenshot 2025-10-20 at 10.24.00 AM.png”).
Q: Can I edit screenshots on a Chromebook? A: Yes, use the Chromebook screenshot tool to crop, draw, or add text. Access it via the notification preview or Downloads folder.
Q: How do I take a screenshot in tablet mode? A: Press Power + Volume Down for a full-screen Chromebook tablet mode screenshot, or use the stylus Capture Region tool.
Q: What if my screenshot shortcuts don’t work? A: Restart your Chromebook, check the keyboard in Settings > Device > Keyboard, or update Chrome OS. For external keyboards, try Ctrl + F5.
Q: Can I change the default screenshot save location? A: Screenshots save to Downloads, but you can move them to custom folders or Google Drive in the Files app.
Q: How do I take a screenshot without a keyboard? A: In Chromebook tablet mode screenshot, use Power + Volume Down or enable the on-screen keyboard in Settings > Accessibility.
Q: Can I record my screen on a Chromebook? A: Yes, press Shift + Ctrl + Show Windows, select Screen Record, and choose full-screen or partial recording. Videos save to Downloads.
Q: How do I use a stylus for screenshots? A: Open Stylus Tools from the shelf, select Capture Region, and draw the area to capture.
Conclusion
Mastering how to screenshot on Chromebook is easy with these versatile methods for full-screen, partial, or window captures using Chromebook keyboard shortcuts or Chromebook tablet mode screenshot options. The Chromebook screenshot tool simplifies editing and sharing, while extensions like Nimbus Screenshot add advanced functionality.