With iOS 18, Apple has made screen recording smoother, faster, and more intuitive than ever. No apps, no complex setup — just a few taps, and your iPhone becomes a mini production studio. In this complete guide, you’ll learn how to screen record on iPhone, how to record with audio, edit your videos, fix common problems, and even explore new iOS 18 tools that creators, teachers, and professionals love.
It’s 2025 — your iPhone isn’t just a communication device anymore; it’s your creative workspace, classroom, and entertainment hub. Imagine capturing a once-in-a-lifetime gaming victory or creating a quick how-to video for your family — that’s the power of screen recording on iPhone.
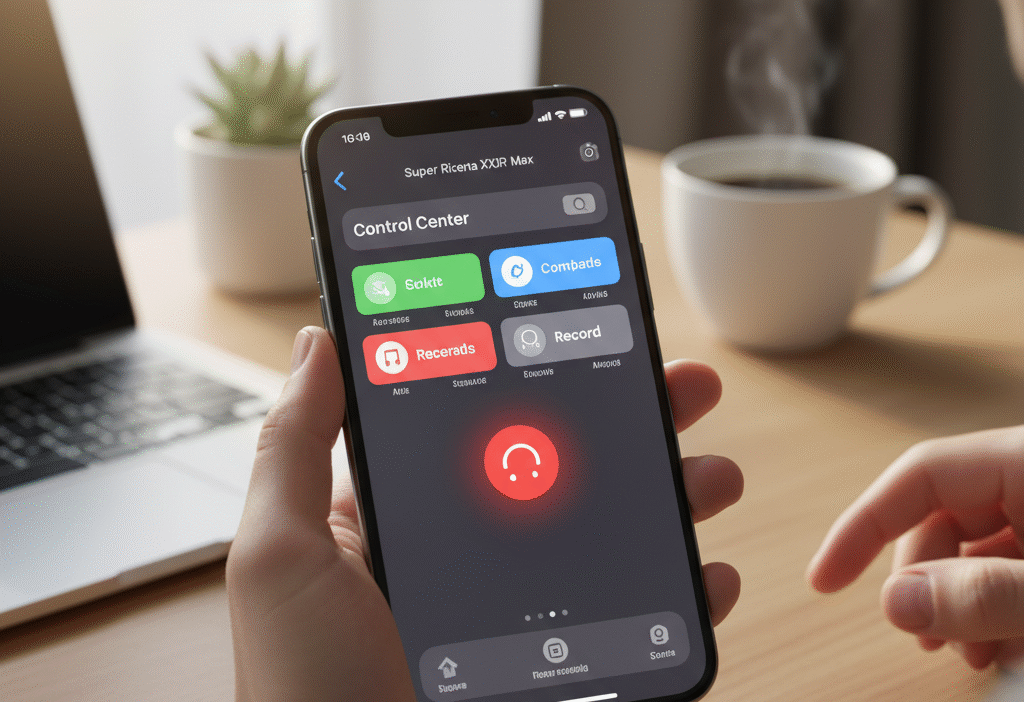
Step 1: Add the Screen Recording Button to Control Center
Before recording your screen, you need to enable the tool.
Here’s how to do it:
- Open Settings on your iPhone.
- Tap Control Center.
- Scroll to More Controls and find Screen Recording.
- Tap the green + icon to add it.
Now you’ll see the record button (a solid dot inside a circle) whenever you open your Control Center — ready to capture anything instantly.
💡 Pro Tip: Move the Screen Recording button to the top of your Control Center list for faster access.
Step 2: Start Recording Your Screen
Once the button is active, here’s how to start recording:
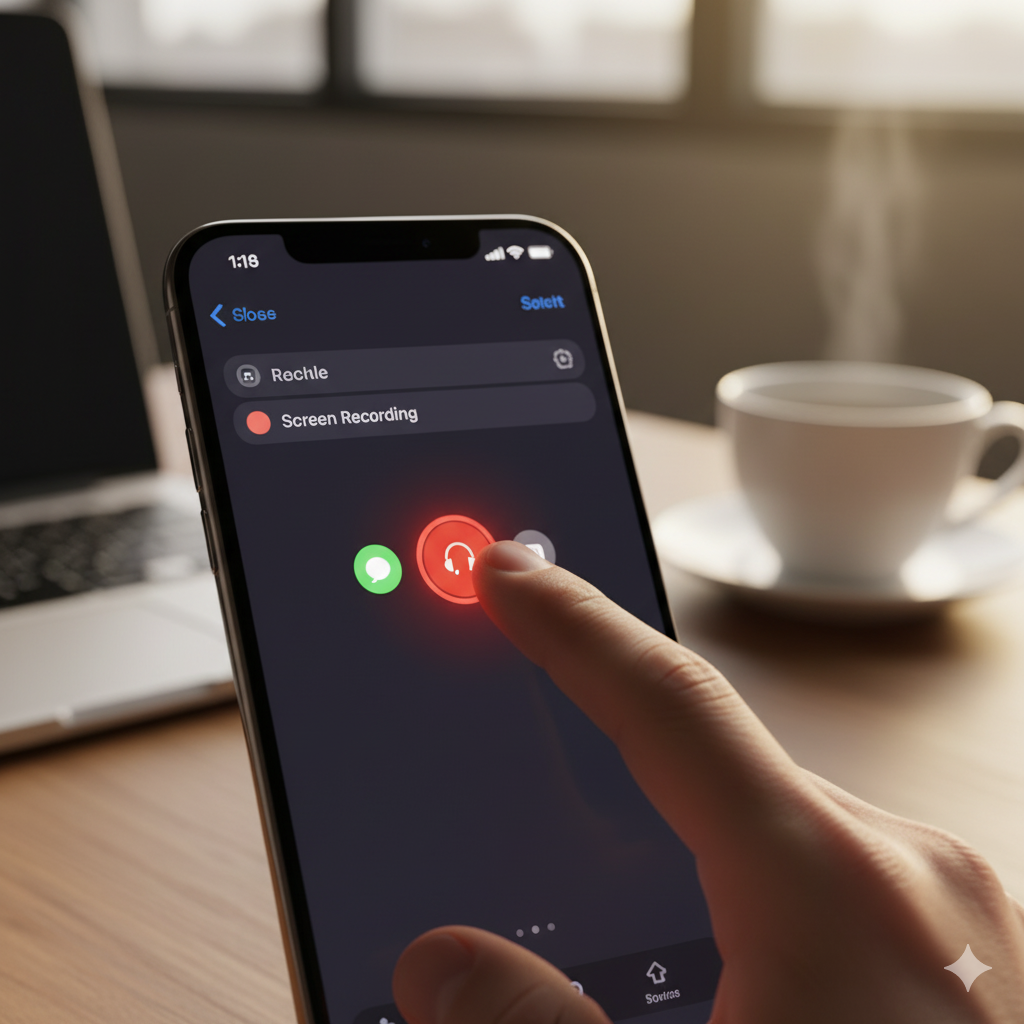
- Swipe down from the top-right corner (on Face ID models) or swipe up (on older Touch ID iPhones).
- Tap the Screen Recording icon.
- A three-second countdown begins before the recording starts.
If you want sound, press and hold the icon before recording and select Microphone On.
Your status bar (or Dynamic Island) will turn red to indicate recording is active.
💡 Pro Tip: Turn on Do Not Disturb before recording to block notifications and avoid interruptions.
Step 3: Stop and Save Your Recording
When you’re done recording, stopping is simple:
- Tap the red recording indicator at the top of your screen.
- Choose Stop.
Your video automatically saves to the Photos app, under “Recents” or “Screen Recordings.”
From there, you can preview, edit, rename, or share your recording.
🌟 Example: Record a tutorial for your colleagues, trim the intro in Photos, and send it instantly via AirDrop or Messages.
Step 4: Edit and Share Your Screen Recording
Apple’s editing tools in iOS 18 make quick adjustments easier than ever:
- Open Photos → tap your recording.
- Select Edit.
- Drag the sliders to remove unwanted parts.
- Tap Done → Save Video as New Clip.
You can also adjust exposure, brightness, or add filters.
💡 Pro Tip: Rename important recordings (e.g., “App Tutorial – iOS18”) for quick access later.
Once edited, share directly through AirDrop, Messages, Mail, or your favorite social media app.
Step 5: How to Screen Record with Sound on iPhone
Recording with audio helps explain tutorials, capture gameplay commentary, or narrate steps clearly.
To record sound:
- Long-press the Screen Recording icon.
- Tap the Microphone On icon.
- Start recording — your voice and app sounds will be captured.
🎧 Note: Apps like Netflix, Apple TV+, or copyrighted games block internal audio recording for privacy.
💡 Pro Tip: Use wireless earbuds with a microphone for clearer narration and better sound quality.
Step 6: Fixing Common Screen Recording Issues
Even with iOS 18, issues can appear occasionally. Here’s how to solve them:
🔹 Problem 1: No Sound Recorded
→ Long-press the Record icon → Ensure Microphone Audio is toggled ON.
🔹 Problem 2: Greyed-Out Recording Button
→ Restart your iPhone. If unresolved, update iOS: Settings → General → Software Update.
🔹 Problem 3: Recording Stops Randomly
→ Check for low storage or overheating. Free up space or close background apps.
💡 Extra Tip: Avoid switching apps rapidly while recording — it can cause temporary freezes or interruptions.
Step 7: What’s New in iOS 18 Screen Recording
Apple’s 2025 update brings significant improvements for smoother screen capture:
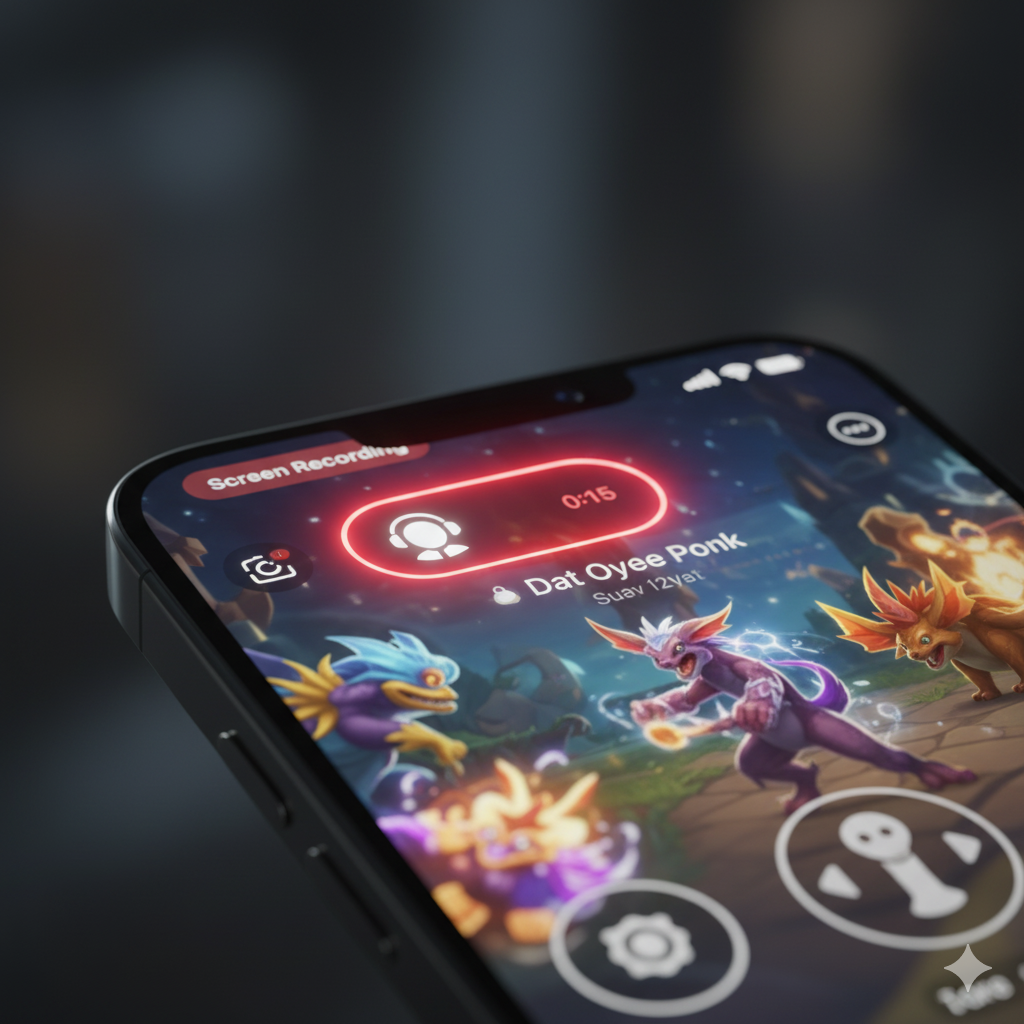
✨ 60 FPS Frame Rate: Capture ultra-smooth gameplay and tutorials.
✨ Dynamic Island Controls: View and stop recordings directly from your screen’s top bar.
✨ Focus Mode Integration: Automatically silences notifications during recording.
✨ Enhanced Mic Sensitivity: Better audio pickup for voiceovers.
✨ Instant Share Option: Send videos directly to apps without opening Photos.
These features make iOS 18 the most efficient version yet for professional-level recording.
Step 8: Advanced Editing and Sharing Tools
If you want to go beyond trimming, try iMovie, Final Cut Pro for iPad, or CapCut for creative enhancements.
You can:
🎵 Add background music and captions.
🎬 Merge multiple clips.
🗣️ Add transitions, overlays, and narrations.
💡 Example: A content creator can record gameplay, edit it in iMovie, and upload it to YouTube — all from the same device.
For faster sharing, use iOS 18’s built-in “Share as Reel” option to post directly on Instagram, TikTok, or YouTube Shorts.
Step 9: Privacy and Security When Screen Recording
Recording is powerful — but privacy matters too.
🔒 Always ask permission before recording private calls or meetings.
📵 Don’t capture sensitive data like passwords or banking info.
☁️ Store videos securely in iCloud or encrypted folders.
🚫 Turn off notifications for Messages and Mail during recording.
💡 Pro Tip: Use Focus Mode or Airplane Mode for distraction-free and secure recording sessions.
Step 10: Creative Uses for iPhone Screen Recording
Screen recording isn’t just for tutorials — it opens creative possibilities:
🎮 Gamers: Capture victories, walkthroughs, or reactions.
👩🏫 Teachers: Record app lessons, slides, or learning demos.
📱 Business Teams: Share app demos or troubleshoot software.
👨👩👧 Families: Record instructions or fun app moments.
Once you master how to screen record on iPhone, you’ll find it’s one of the most versatile tools for work, creativity, and communication.
Step 11: Advanced Troubleshooting Tips for 2025
If your recordings still face issues, try these fixes:
- Reset Control Center: Go to Settings → General → Reset → Reset All Settings.
- Check App Permissions: Some apps disable screen recording — test using Safari or Photos.
- Free Memory Space: Close background apps before recording.
- Avoid Overheating: Don’t record long sessions under direct sunlight or with high brightness.
💡 Pro Tip: Regularly update to the latest iOS 18 version for bug fixes and improved recording stability.
FAQs About Screen Recording on iPhone (2025)
Q1: Why can’t I record audio during screen recording?
A: Ensure the Microphone Audio is enabled before recording. Some apps restrict internal sound for copyright protection.
Q2: Where are my recordings saved?
A: Screen recordings automatically save in Photos → Screen Recordings.
Q3: Can I record FaceTime calls?
A: Technically, yes, but always get permission before recording any private conversation.
Q4: How long can a recording last?
A: As long as your iPhone has storage and battery power.
Q5: Why does the recording stop automatically?
A: Check for storage space, background apps, or overheating.
Q6: Can I record both internal and microphone audio?
A: Yes — turn on Microphone Audio, but app restrictions may apply.
Q7: Is there a way to hide the red recording indicator?
A: No, Apple includes it as a privacy safeguard.
Q8: Does screen recording drain battery fast?
A: Slightly. Use low brightness or plug in your charger for longer sessions.
Conclusion: Capture, Create, and Share Your World
You now know exactly how to screen record on iPhone — from setting up the Control Center to mastering sound, editing, and troubleshooting.
With iOS 18, screen recording has evolved into a professional-grade feature that anyone can use — whether you’re a gamer, teacher, marketer, or creative storyteller.
Screen recording isn’t just a function — it’s your tool for storytelling, sharing, and connecting.
🎬 Go ahead — swipe down, tap record, and start capturing your world in motion today.