
: The First Line That Changes Everything
You sit down with a blank sheet of paper. The pencil feels light in your hand. One line appears — shaky, unsure — but it’s your first step toward creating something extraordinary. That’s how every great artist begins.
Learning how to draw isn’t about perfection; it’s about seeing the world differently. Whether you want to sketch portraits, design fashion, or just relax through art, drawing gives your imagination a voice.
🎨 Why Learning How to Draw Matters
In an age of AI and digital art, you might wonder: Is traditional drawing still important?
Absolutely. Drawing teaches observation, patience, and mindfulness. It strengthens your creativity, helps you express emotions, and trains your brain to notice details others overlook.
According to art educators, learning to draw improves cognitive focus, memory, and even problem-solving skills. It’s not just about art — it’s about learning to see.
✏️ What You Need to Start Drawing
Before we dive into how to draw step by step, here’s your essential beginner toolkit:
- Pencils: HB for light lines, 2B–8B for shading.
- Eraser: A kneaded eraser is best for highlights and soft corrections.
- Paper: Smooth sketch paper or drawing pads.
- Sharpener: Always keep pencils sharp for clean lines.
- Blending tool: Tissue, blending stump, or cotton bud for shading.
🧠 Pro Tip: Keep a sketchbook just for practice — it’s your personal art journey journal.
👁️ Step 1: Learn to See Like an Artist
Before you draw what you think you see, learn to draw what you actually see.
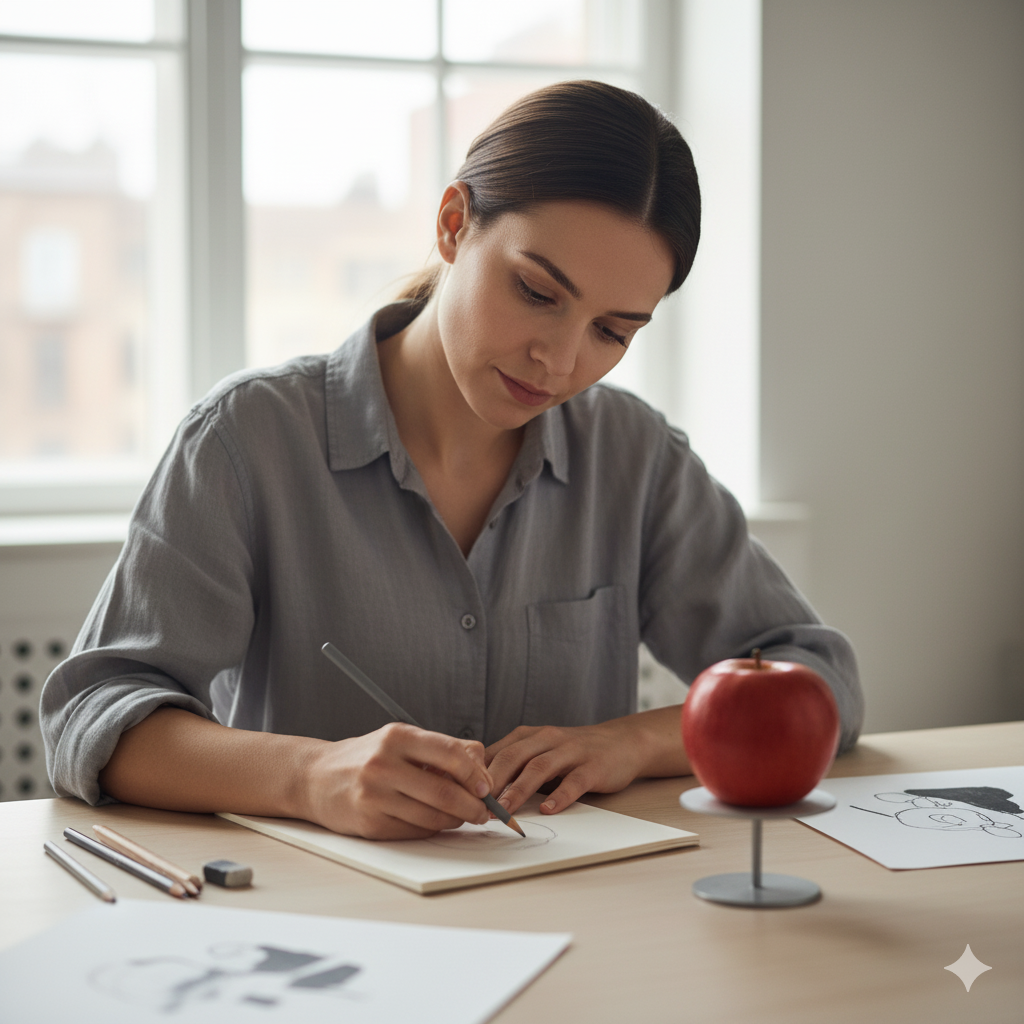
Artists call this “training your eye.” Look at shapes, shadows, and proportions instead of just the object. For example, when drawing an apple, notice the subtle curve, how light hits one side, and how the shadow softens on the table.
Practice contour drawing — slowly tracing the outline of objects with your eyes and pencil together.
✍️ Step 2: Start with Basic Shapes
Everything you draw — faces, trees, cars, animals — is built from simple shapes.
- Circle → heads, apples, planets
- Square → boxes, furniture, buildings
- Triangle → roofs, trees, clothing folds
Break down objects into circles, squares, and triangles first, then refine the details. This is the foundation of learning how to draw for beginners.
📏 Step 3: Master Line Control
Lines define your drawing. Practice slow, confident strokes rather than sketchy, uncertain ones.
Try these exercises daily:
- Straight lines (top to bottom, left to right)
- Curved lines
- Crosshatching (for shading)
- Spirals and ellipses
Your line quality shows your confidence — and confidence grows with repetition.
🌗 Step 4: Learn Shading and Light
Shading gives depth and realism to your drawings. Start with basic light exercises:
- Draw a circle and imagine a light source.
- Shade gradually from dark to light.
- Leave one side bright — that’s your highlight.
Practice hatching, cross-hatching, and blending techniques. Shading isn’t about coloring — it’s about creating the illusion of volume.
🧍 Step 5: Drawing Real Objects and People
Now comes the fun part — applying what you’ve learned!
Start with still life (cups, fruit, books). Move to faces or animals once you’re comfortable with proportions.
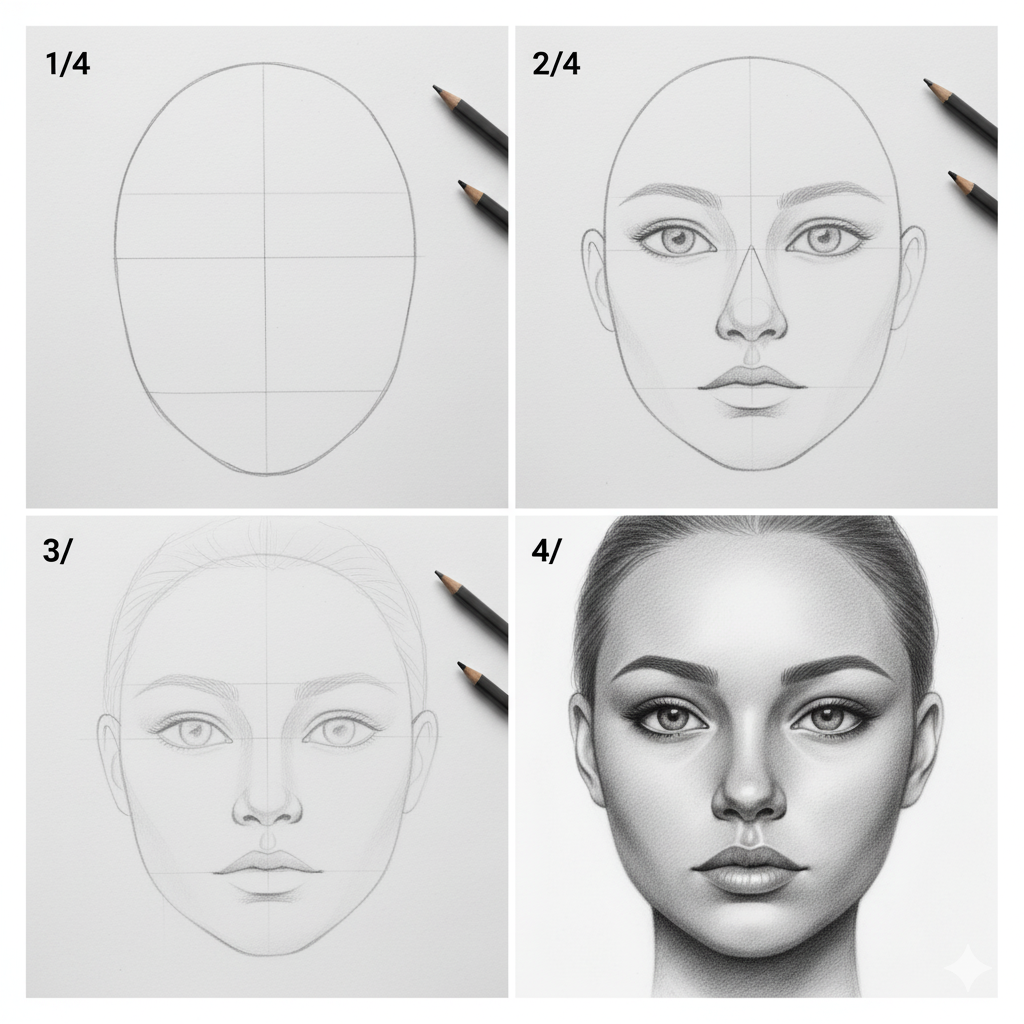
When drawing faces:
- Divide the head into equal halves (horizontal for eyes, vertical for nose).
- Eyes are one eye-width apart.
- The bottom of the nose aligns halfway between eyes and chin.
- Lips sit halfway between nose and chin.
🎯 Remember: Faces are not about perfection — they’re about expression.
🪞 Step 6: Drawing from Reference
One of the most powerful habits in art is using references.
Take photos, observe real-life objects, or use online pose libraries. Don’t trace — study. Look at how light, texture, and form interact.
References teach accuracy, observation, and confidence — key skills for mastering how to draw realistically.
💡 Step 7: Add Depth with Perspective
Want your drawings to look 3D? Learn perspective drawing.
Start with:
- 1-point perspective: All lines lead to one vanishing point (like a road or hallway).
- 2-point perspective: Great for corners and buildings.
- 3-point perspective: Adds drama — like looking up at a skyscraper.
Understanding perspective turns flat sketches into immersive scenes.
🎭 Step 8: Experiment with Styles
Once you’re confident with basics, try exploring:
- Realistic drawing
- Anime or cartoon style
- Gesture drawing
- Digital art (iPad/Procreate)
- Abstract or surreal art
Every artist eventually finds their unique voice. Don’t rush it — experiment and enjoy the process.
🕰️ Step 9: Practice Every Day (Even 10 Minutes)

Consistency beats talent.
Draw something every day — your coffee cup, a tree outside, or your hand. Even 10 minutes daily will build your skill faster than hours once a month.
Keep old sketches. Looking back at them after six months will show how far you’ve come — that’s the best motivation.
🧑🎨 Step 10: Build Your Artistic Confidence
Every artist struggles with self-doubt. The difference between beginners and masters isn’t talent — it’s patience.
Celebrate progress, not perfection. The goal isn’t to be flawless — it’s to express yourself freely and fearlessly.
Drawing isn’t about impressing others — it’s about connecting with yourself.
🌈 Common Mistakes Beginners Make (and How to Fix Them)
| Mistake | Solution |
|---|---|
| Pressing too hard | Use light pressure; layer slowly |
| Ignoring proportions | Use guidelines and grids |
| Over-erasing | Accept small flaws — they add character |
| Flat shading | Observe light direction |
| Comparing with others | Compare only with your past self |
💬 Real Artist Moment: My First Drawing
When I started, I drew a crooked cup. My lines were shaky, my shadows were too dark — but I kept that sketch. Months later, I redrew the same cup, and it looked alive.
That’s what learning how to draw truly means — progress you can see and feel.
🧽 How to Take Care of Your Drawing Tools
- Keep pencils sharp but not brittle.
- Store sketchbooks flat to avoid warping.
- Clean blending stumps regularly.
- Use fixative spray for charcoal or graphite drawings.
Art tools are your companions — treat them well, and they’ll reward you with beautiful work.
❓ FAQs: How to Draw for Beginners
Q1: How long does it take to learn to draw?
With daily practice, you’ll see improvement in 30 days. Mastery takes years — but joy starts from day one.
Q2: Can anyone learn how to draw?
Yes. Drawing is a learned skill, not an inborn talent. Anyone can improve with patience.
Q3: What’s the easiest thing to draw?
Start with simple objects like apples, leaves, or mugs — great for practicing shading and proportion.
Q4: How do I overcome art block?
Try new tools, draw from imagination, or switch subjects — creativity flows when pressure fades.
Q5: Should I learn digital drawing first?
Start traditionally to build fundamentals; then digital art will feel natural.
🎯 Conclusion: Every Great Artist Starts with a Single Line
Learning how to draw isn’t just about technique — it’s a journey of patience, observation, and creativity. Every sketch you make brings you closer to your own style and story.
So pick up your pencil. Take a deep breath. Draw your first line — the world is waiting to see what you create next.